In today’s smart home environment, security devices such as cameras, smart locks, and alarm systems are vital components of ensuring the safety of your home. However, in order for these devices to function properly, a stable and secure internet connection is essential. Wi-Fi is often the preferred method for connecting these devices to the internet, allowing for remote monitoring, real-time alerts, and seamless integration with other smart home devices. In this article, we’ll walk you through the importance of having a good connection and guide you on how to connect your security devices to Wi-Fi, as well as how to troubleshoot common issues that may arise.
The Importance of a Good Connection for Smart Devices
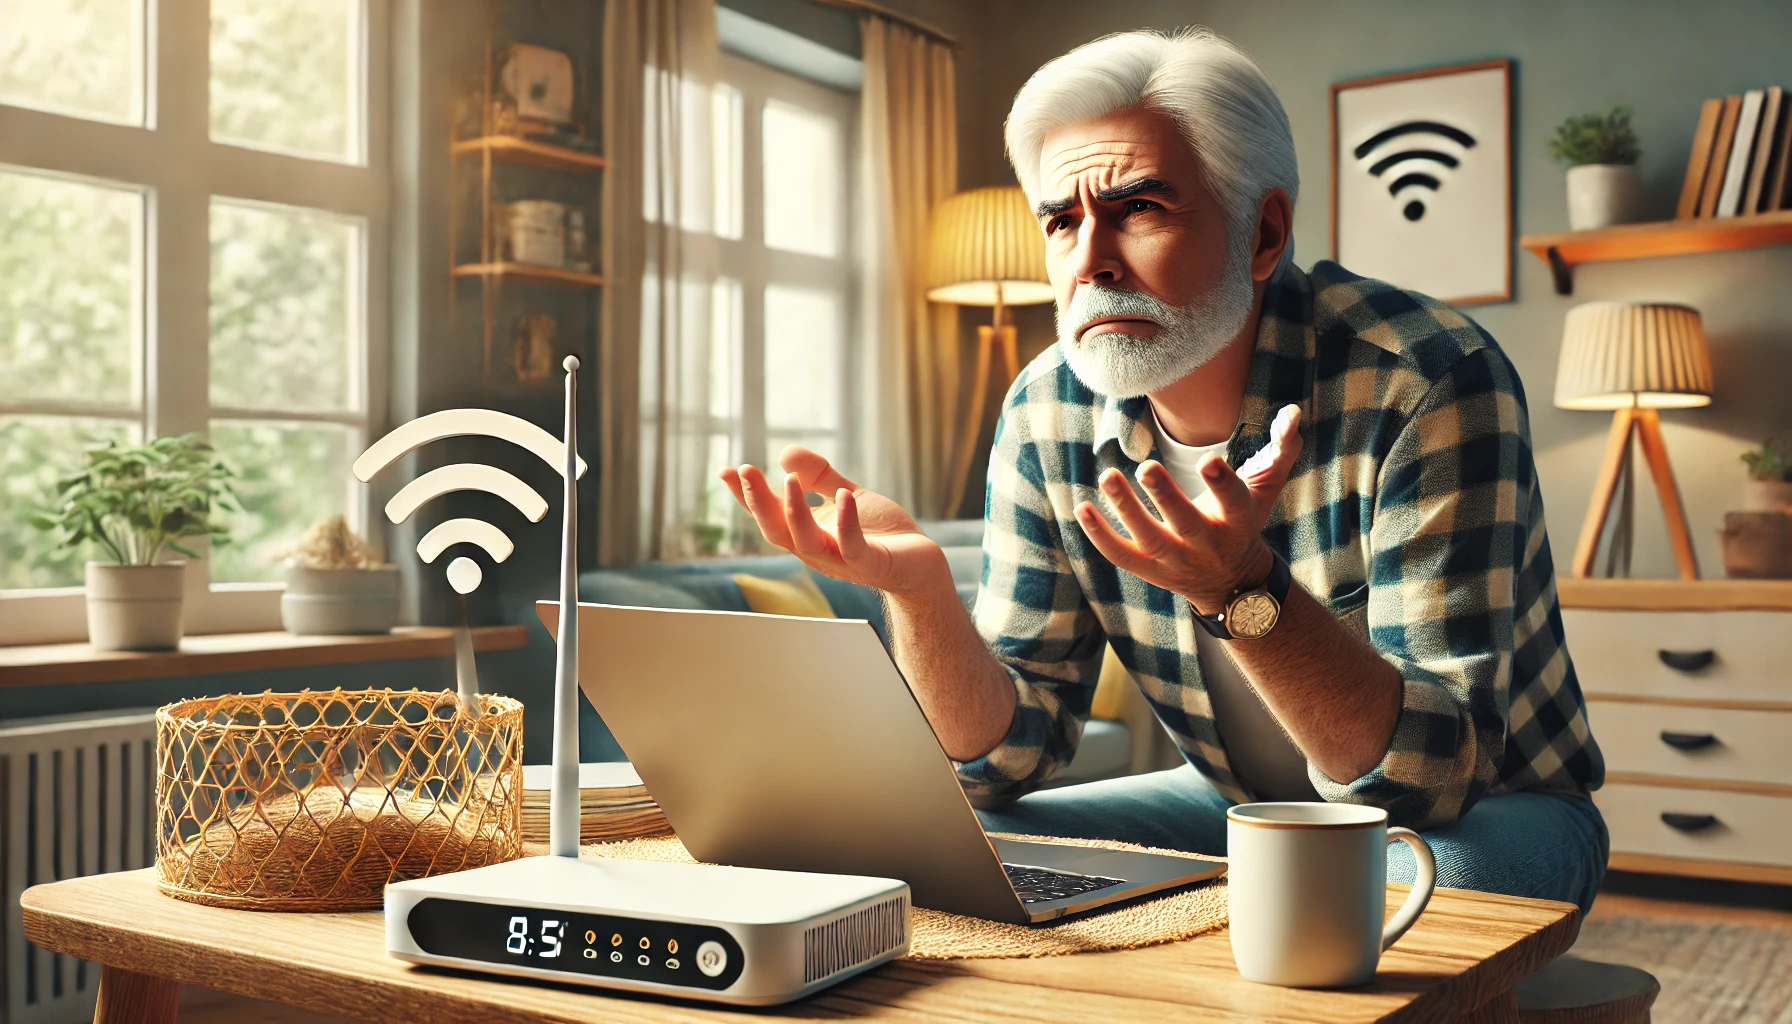
Having a stable and fast Wi-Fi connection is crucial for the functionality of smart security devices. Many modern security devices, like cameras and alarms, rely on the internet to provide remote access, live video feeds, and automatic updates. Without a reliable connection, these features may not work as intended, leading to frustration and compromised security. A strong Wi-Fi signal ensures that your devices remain connected to the network, allowing for consistent performance and reliability.
When setting up your security devices, it is important to understand the basics of Wi-Fi connectivity, such as the types of frequencies available and how to ensure your devices are compatible with your network. Below, we’ll guide you through the necessary steps to successfully connect your security devices to your Wi-Fi network.
Checking Your Device’s Compatibility
Before attempting to connect your security devices to Wi-Fi, it’s important to verify that your devices are compatible with your home’s network. Many devices support either 2.4 GHz or 5 GHz frequencies, but not all devices can connect to both. Here’s how to determine which frequency your device supports and how to choose the right network:
2.4 GHz vs. 5 GHz
Wi-Fi networks generally operate on two frequency bands: 2.4 GHz and 5 GHz. Each frequency has its own advantages and limitations, which can affect the performance of your security devices:
- 2.4 GHz: This frequency offers a longer range and better penetration through walls and obstacles. It is generally more suitable for devices that are farther from the router or in areas with weak signal coverage. Many smart home devices, including security cameras and motion sensors, are designed to connect to the 2.4 GHz band because it provides more stable connections over long distances.
- 5 GHz: This frequency provides faster speeds and less interference from other devices, but it has a shorter range and is less effective at penetrating walls. If your security device is located close to your router and you need high-speed data transmission (such as for high-definition video streaming), the 5 GHz band may be the better option.
When setting up your device, check the specifications in the user manual or on the manufacturer’s website to confirm whether it supports 2.4 GHz, 5 GHz, or both. If your device supports only 2.4 GHz, make sure your router is configured to broadcast that frequency.
Steps to Connect to Wi-Fi
Now that you’ve verified your device’s compatibility with your Wi-Fi network, you can follow these basic steps to connect it to your home network. The process may vary slightly depending on the brand of your device, but the general procedure remains similar.
Step 1: Find the Network Name (SSID)
The first step in connecting your security device to Wi-Fi is to locate your network’s SSID (Service Set Identifier), which is the name of your Wi-Fi network. You can find the SSID in the settings of your router or on the router itself (often printed on a label). Ensure that the device is within range of your router to avoid connection issues.
Step 2: Select the Network
Once you’ve found the SSID, navigate to the Wi-Fi settings of your security device. On most devices, you will need to enter a setup mode either by using the accompanying app or pressing a designated button on the device itself. From there, your device should prompt you to choose your Wi-Fi network from a list of available options.
Step 3: Enter the Correct Password
After selecting your network, you’ll need to enter the Wi-Fi password (if your network is secured). Ensure that the password is entered correctly, paying attention to capitalization and any special characters. Double-check that you’re selecting the correct network and not a nearby one that may be similar.
Step 4: Wait for Confirmation
Once you’ve entered the correct password, the device should attempt to connect to your network. This process may take a few moments. Once the device is connected, you’ll typically receive a confirmation message either on the device’s display or within the app. Some devices may also have a status light that changes color to indicate a successful connection.
If the connection fails, double-check that you’ve entered the correct credentials and ensure that your Wi-Fi signal is strong enough for the device to connect.
Troubleshooting Common Issues
While connecting security devices to Wi-Fi is typically a straightforward process, there are a few common issues that may arise. Below are some troubleshooting tips to help resolve these problems:
Restart the Router or Device
One of the most effective ways to resolve connectivity issues is to restart your router or the device itself. Sometimes, network congestion, temporary glitches, or issues with IP allocation can interfere with the connection. Turning off your router for about 30 seconds and then turning it back on can help refresh the network connection. Similarly, restarting the security device can often resolve minor software or hardware issues that prevent successful connection.
Check Wi-Fi Signal Strength
Another common issue is weak or inconsistent Wi-Fi signal strength. If your device is too far from the router or if there are walls or other obstacles between them, the connection may be unstable. In such cases, you can try moving the device closer to the router or using Wi-Fi extenders to improve coverage. Additionally, make sure that there’s no significant interference from other electronic devices, such as microwaves or baby monitors, that could affect the signal.
Ensure Your Wi-Fi Frequency Matches the Device
If your security device supports only the 2.4 GHz frequency and your router is broadcasting a 5 GHz network, your device will not be able to connect. Make sure your router is set to broadcast both 2.4 GHz and 5 GHz frequencies (dual-band routers typically support this). If you only have a single-band router, you may need to manually switch to the 2.4 GHz network for the device to connect.
Update Firmware or App
Sometimes, outdated firmware on the device or app can cause connection issues. Make sure that the firmware on your security device is up to date by checking the manufacturer’s website for the latest updates. Similarly, ensure that the app you’re using to manage the device is up to date by downloading any available updates from the app store.
Ensuring Wi-Fi Security
Once your devices are connected to your Wi-Fi network, it’s essential to ensure that the network itself is secure. An unsecured Wi-Fi connection can put your devices and personal data at risk. Here are some tips to strengthen your Wi-Fi security:
- Use a strong password: Ensure that your Wi-Fi network is protected with a strong, unique password. Avoid using simple or easily guessable passwords and enable WPA2 or WPA3 encryption.
- Change default router settings: Many routers come with default usernames and passwords. Change these to enhance security and prevent unauthorized access.
- Enable a guest network: If you want to provide Wi-Fi access to visitors, create a separate guest network. This ensures that your main network remains secure.
- Use a VPN: Consider using a Virtual Private Network (VPN) to add an extra layer of security when connecting your devices to the internet.
By following these steps and troubleshooting tips, you can successfully connect your security devices to Wi-Fi and ensure they operate efficiently. A strong, secure Wi-Fi connection is crucial for maintaining the functionality of your smart home security system, so it’s important to regularly monitor your network’s performance and address any issues that arise.